Why do LED ceiling lights burn out so fast? The answer is rarely the LED chip alone. A ceiling fixture may fail because heat, unstable voltage, moisture, or a weak driver quietly damages its electronics. The U.S. Department of Energy’s Energy Saver guidance states that quality LEDs can use at least 75% less energy and last far longer than incandescent lamps. However, those benefits depend on correct installation and operating conditions.
Heat is the hidden warning sign. Picture a sealed ceiling fitting above a kitchen island, collecting heat with nowhere to escape. The LED may still glow, but its driver components can deteriorate quickly. DOE Solid-State Lighting reports also explain that thermal management strongly affects LED performance and lifetime. The Illuminating Engineering Society’s LM-80 and TM-21 methods help evaluate lumen maintenance, yet they do not guarantee that every complete fixture will survive its advertised hours. That distinction matters.
This guide examines why do led ceiling lights burn out so fast through practical failure points. We will consider driver quality, enclosed fixtures, dimmer compatibility, voltage surges, moisture, and poor heat transfer. ENERGY STAR requirements can support better product selection, but certification is not a substitute for correct application. The label alone is not proof. In real homes, installation details often decide the outcome. Some failures also reveal a difficult truth: consumers may compare wattage and brightness while ignoring driver design. That assumption is too neat. A reliable diagnosis needs the fixture, wiring, environment, and usage pattern viewed together.
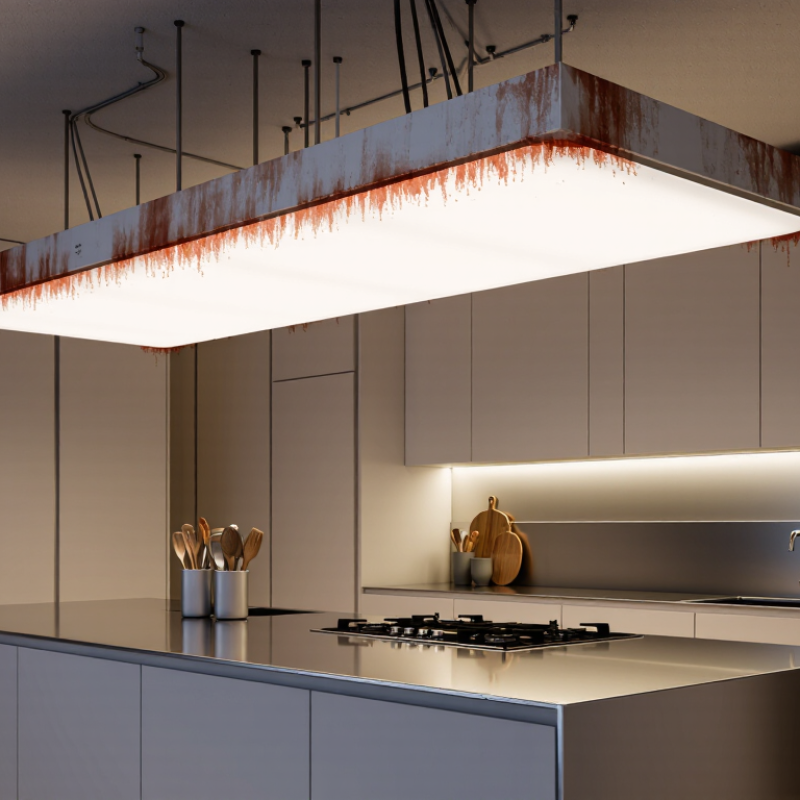
An LED ceiling light burning out is not always an LED failure. It often signals stress somewhere in the fixture or building. Heat is a common cause. When an enclosed fitting traps warmth above the ceiling, the driver and circuit board age faster. The light may begin flickering, dimming, or showing brown marks around the lens.
What LED ceiling light burnout really means depends on the failure pattern. A sudden blackout can indicate a damaged driver or loose connection. Repeated failures in one room may point to voltage fluctuations, poor airflow, or a weak neutral connection. In older homes, a switch box or ceiling junction may deserve inspection. A qualified electrician can measure voltage under load and check connection temperature safely.
Do not assume a brighter replacement will solve the problem. I once focused too heavily on the lamp and overlooked the heat trapped inside the housing. That mistake was simple, but costly. Check whether the fixture is rated for enclosed spaces. Look for dust, buzzing, flicker, and unusual warmth after thirty minutes. Turn off the circuit before any inspection. If the ceiling feels hot or the light fails repeatedly, professional testing is wiser than repeated replacement.
| Possible Cause | What Is Happening | Typical Risk Level | Common Symptoms | Useful Check | Recommended Action | Expected Effect |
|---|---|---|---|---|---|---|
| Excessive Heat | LEDs produce less heat than incandescent lamps, but their electronic drivers and semiconductor junctions still require effective heat dissipation. High temperature accelerates component aging. | High | Light becomes dimmer, changes color, flickers, or stops after operating for a while. | Check whether the fixture is enclosed, tightly recessed, dusty, or noticeably hot after operation. | Improve ventilation, clean heat-dissipating surfaces, and use a fixture rated for enclosed locations when required. | Lower operating temperature and slower aging. |
| Unstable Supply Voltage | Voltage spikes, surges, or voltage outside the fixture’s rated input range can stress the driver and shorten its service life. | High | Repeated failures after storms, visible flicker, sudden shutdown, or damage to multiple lights on the same circuit. | Have a qualified electrician measure the circuit and inspect for surge-related damage. | Correct wiring problems and consider appropriately rated surge protection where electrical conditions justify it. | Reduced electrical stress and fewer premature failures. |
| Poor LED Driver Quality | The driver converts incoming power to the controlled current required by the LED. Capacitors and other driver components may fail before the LED itself. | High | The entire fixture goes dark while the LED board shows no obvious physical damage. | Compare the failure pattern across identical fixtures and inspect for swollen, leaking, or overheated components. | Replace the driver if serviceable, or replace the complete fixture with a properly rated unit. | Restored current regulation and improved reliability. |
| Frequent Switching | Frequent on-and-off cycles can increase thermal and electrical stress, especially in fixtures with sensitive driver components. | Medium | Failure occurs in areas controlled by motion sensors, timers, or repeated manual switching. | Review how often the light is switched and whether a sensor or control device is involved. | Use lighting and controls rated for frequent switching; adjust sensor timing when practical. | Fewer switching-related stress events. |
| Incompatible Dimmer | Some older or incompatible dimmers may create flicker, audible noise, unstable current, or extra stress in an LED driver. | High | Flickering or buzzing appears mainly at low brightness or only when the dimmer is used. | Test the fixture on a compatible non-dimmed circuit under safe conditions. | Use a dimmer specifically rated for LED loads and follow the fixture’s compatibility requirements. | More stable dimming and reduced driver stress. |
| Loose or Faulty Wiring | Loose terminals, poor connections, or damaged conductors can create intermittent power, arcing, and localized heat. | High | Intermittent operation, crackling, discoloration, burning odor, or heat near the junction box. | Turn off power and have a qualified electrician inspect connections and terminals. | Repair or replace damaged wiring and tighten connections according to electrical requirements. | Improved safety and consistent power delivery. |
| Moisture or Condensation | Water or high humidity can corrode contacts, create leakage paths, and damage driver insulation. | High | Corrosion, water marks, intermittent operation, or failure in bathrooms, porches, kitchens, or damp areas. | Inspect the housing, seals, ceiling opening, and surrounding area for moisture entry. | Use a fixture with a suitable location rating and correct the source of water intrusion. | Less corrosion and improved electrical safety. |
| Excessive Dust or Blocked Ventilation | Dust can restrict heat transfer and trap warm air around the fixture, increasing internal temperature. | Medium | Progressive dimming, a hot housing, or shorter life in dusty rooms or high-use areas. | Inspect ventilation slots, heat sinks, and the ceiling cavity for dust buildup. | Clean the fixture with power disconnected and maintain clear airflow around heat-dissipating parts. | Better cooling and more consistent light output. |
| Overloaded Circuit or Control Device | A circuit or control component operating beyond its rating may overheat or produce unstable electrical conditions. | Medium | Tripped breakers, warm switches, flicker, or failures occurring after other loads are added. | Review circuit loading and have the installation assessed by a qualified electrician. | Redistribute loads or replace an unsuitable control component with a correctly rated one. | Lower circuit temperature and improved stability. |
| End of Useful Life | LED light output gradually declines over time. The driver may also reach the end of its service life before the LED package fails. | Low | Gradual dimming, color shift, or complete failure after many years of regular use. | Compare brightness with a similar new fixture and review installation age and operating hours. | Replace the light or driver with a compatible, correctly rated part. | Restored illumination and predictable operation. |
The driver may fail before the LED chips. Trapped heat, unstable voltage, loose terminals, or poor components can shorten service life. I once blamed the light itself, but the installation was the real problem.
Heat weakens capacitors, solder joints, and phosphor layers. Dust, insulation, and tight ceiling spaces can trap warm air. A kitchen ceiling may become especially hot.
Yes, if insulation blocks required airflow. The fixture can overheat inside the ceiling cavity. Follow the installation instructions carefully.
Flickering, buzzing, delayed startup, dimming, or dark spots may indicate driver stress. These symptoms are clues, not proof. Testing is still needed.
Yes. Surges and irregular supply can stress the driver. A qualified electrician should measure the circuit safely.
An incompatible dimmer may create flickering, buzzing, or electrical stress. Confirm compatibility and stay within the dimmer’s rated load. I would not assume every dimmer works.
A loose neutral or terminal can cause flickering and heat at the connection point. Brown marks or unusual warmth require prompt professional inspection. Do not guess.
Turn off power before any visual inspection. Check for moisture stains, blocked ventilation, loose connections, and abnormal heat. Ask a qualified electrician to test the supply and wiring.
Usually, excessive heat causes more damage than normal switching. However, low-quality components may fail sooner. The exact cause can remain uncertain without testing.
LED ceiling lights are designed to provide efficient, long-lasting illumination, but their lifespan can be shortened when internal components operate under excessive stress. Understanding why do led ceiling lights burn out so fast begins with knowing that an LED fixture depends on several parts, including the light-emitting diodes, driver, heat sink, and wiring. Failure may involve dimming, flickering, reduced brightness, or a complete loss of light rather than the LED chip alone burning out.
The most common causes of premature failure are trapped heat, unstable voltage, overloaded circuits, loose connections, moisture, and poor-quality installation. Heat is especially damaging because it weakens the driver and gradually reduces LED performance. To prevent failure, choose a fixture suited to the ceiling location, allow proper ventilation, keep it away from excessive moisture, check for secure wiring, and address voltage fluctuations or repeated flickering promptly. Regular inspection and correct installation can help maintain brightness, improve safety, and extend the working life of an LED ceiling light.

